

Recover Lost Files on Mac OS X:
A file found by the help of a file signature search algorithm is called 'lost'.
All people in world experience a file that was accidentally lost files within their hard drive. This can be a very frustrating experience, but there is a way to recover lost that was lots due to negligence and accidents.
Awards:


Lost files can occur because of any of the below possibilities.
- File is password protected.
- File was mistakenly deleted.
- Another program deleted the file.
- File was corrupt and deleted by scandisk.
There is a tool on the website that you can use to help you recover all your lose files in no time. Anything that was lost inside your Mac can be found again with the help of the data recovery for mac.
You may try downloadable data recovery for mac over the internet. This program will scan the hard disk to recognize some data that has been deleted. When you accidentally or intentionally deleted a file, OS will not remove it permanently from the disk. It means that you can still recover lost files, if you want.
Recover Lost Files on Mac OS X
We suggest hat you use a quality Data Recovery for mac to get the job done the easy way. We recommend Data Recovery for mac to get the job done efficiently and quickly.Follow the steps below to Recover Losted Files on Mac:
Step 1: Run the application and click "Continue" to start the wizard which will guide you through the data recoery process.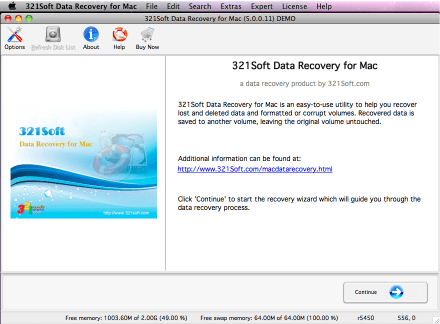
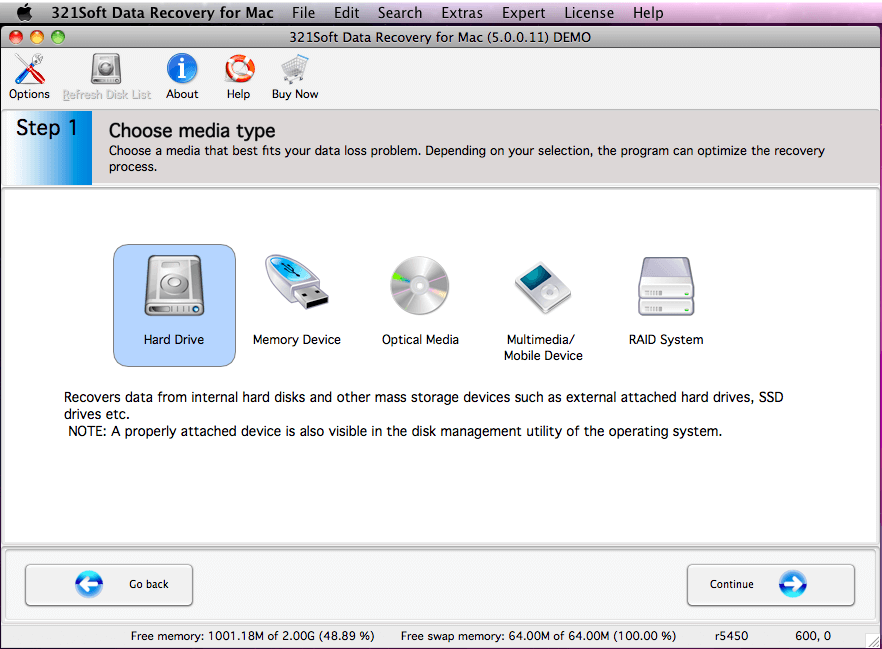
Step 2: Click the"Hard Drive" icon and click "Continue" buttom.
Step 3: Select the volume from which the files were Losted.

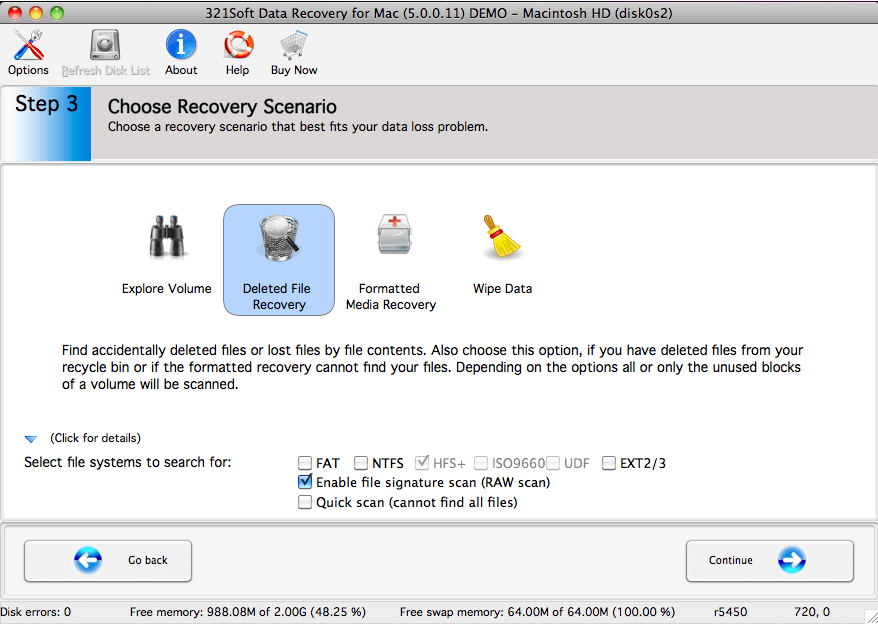
Step 4: Click the "Deleted File Recovery" icon and Check "RAW scan" option
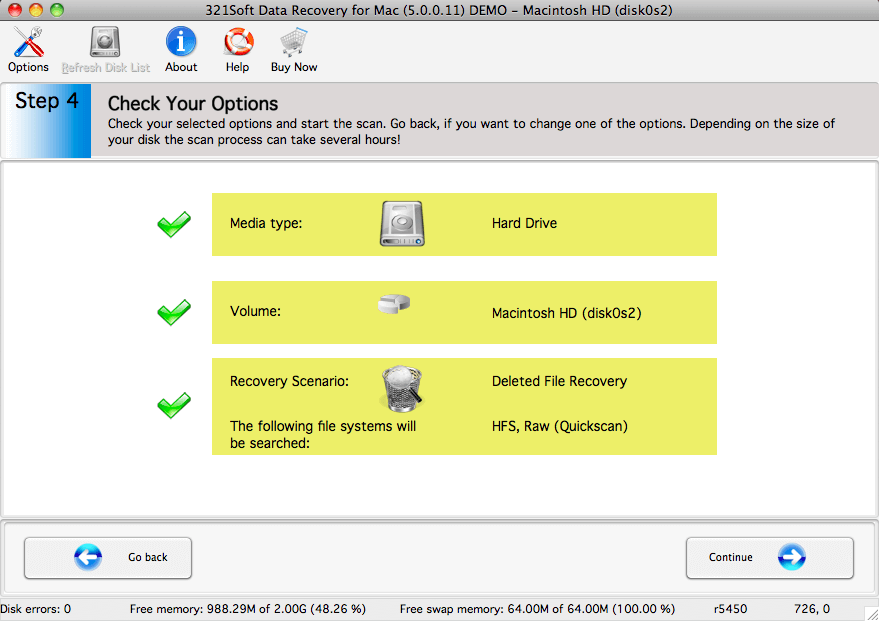
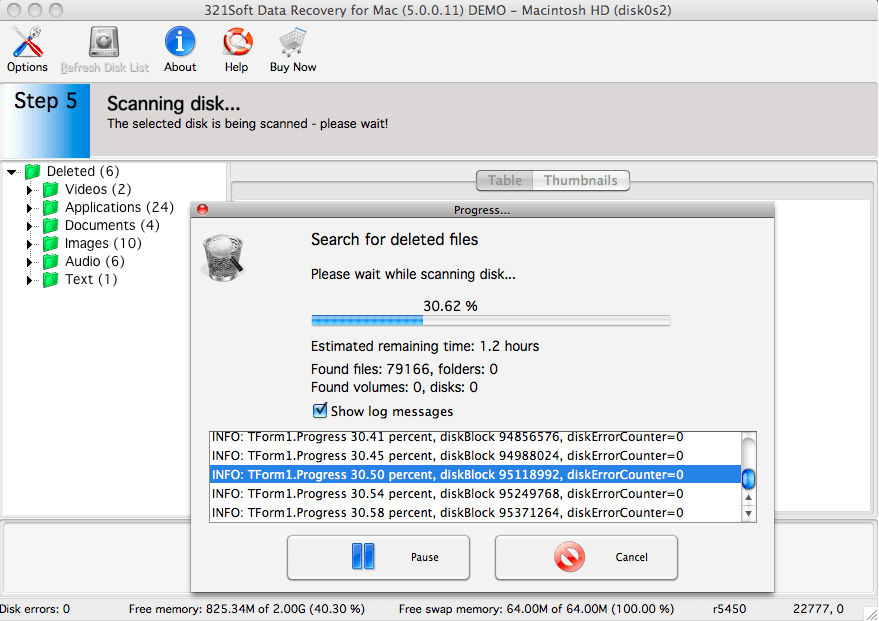
Step 5: Check your selected options, If you are satisfied with your options that you have chosen, click the "Continue" button to begin the scan for losted files.
You will see the scan progress in the progress bar below. You can interrupt the scan by clicking the "Pause" button or view Log messages by check the Show Log messages box.
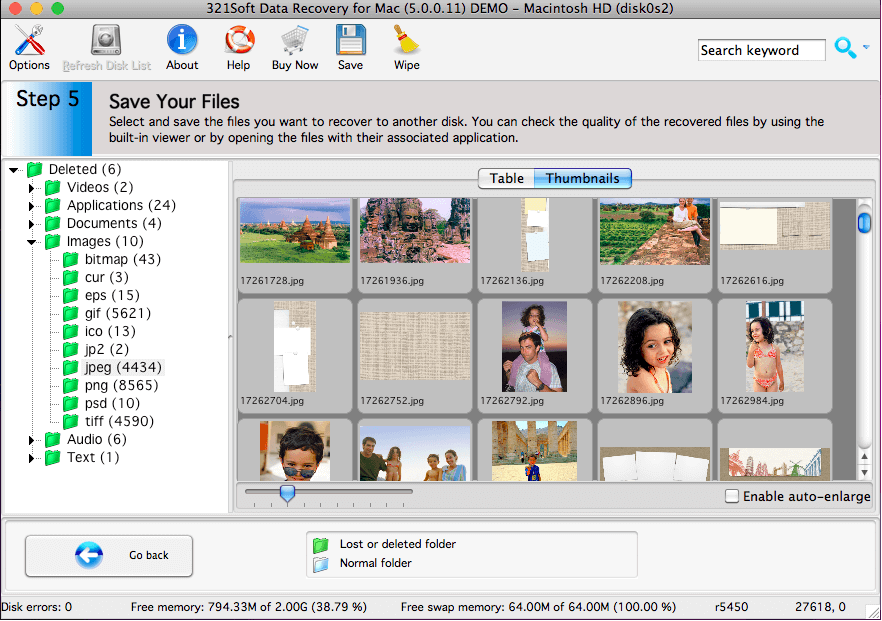
Step 6: Preview and save the recoverable files, To save the files, you would select the files on the right side of the screen and click the "Save" icon in the tool bar.
To select multiple files either use the Shift key (to select several files in succession) or the Ctrl key (to select individual files) of your keyboard. If you wish to select all items in the file list, choose Select all from Edit menu.
Please notice that the scan may have found partial or corrupt files. Test the files with your application to actually find out if the files could be recovered completely.
in addition, For HFS volumes it is impossible to recover the file with its correct name except for the MP3 file.
Caution: The scan results are temporary in memory. If you click the "Go Back" button, the scan results will be lost.
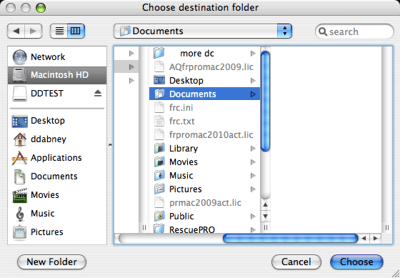
A typical save dialog will be displayed, and you will be able to recover your losted files to another storage device or another drive letter in the system.
Ready to recover losted files on Mac? Just click the button below and begin recover your lost files!
Find out why we're ranked #1
Ready to recover lost files and folders? Download the Free version Now!