
Recover data from unrecognized drive on Mac OS X:
If a drive is not recognized, volume is lost or fails to mount, you should try choosing the disk in Step 2 and then choose Search Lost Volumes in Step 3. This will scan the drive for lost volume headers only. When the scan for lost volumes is finished, you will be back at Step 2, where you are asked to select the volume to scan. If the program was able to locate a lost volume, then it will be displayed with a green icon. Choose this drive and proceed as you would on a normal volume. You will be able to browse the volume, look for deleted files, and look for lost files. Then you can save them to another location on your system.
Awards:


Tips for successful data recovery:
- Never download or install any data recovery software on the same volume or drive.
- Do not use the drive or volume further after the deletion of data.
- Run the 321Soft data recovery, choose an appropriate option for scanning the volume or drive which contains the deleted data.
Follow the steps below to recover data from unrecognized drive:
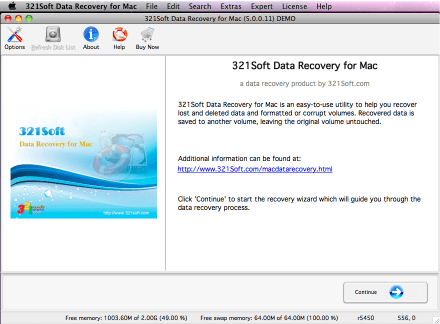
Step 1: When you first start 321Soft Data Recovery for Mac, you click Continue, and the interface will help you choose each step in the recovery process.
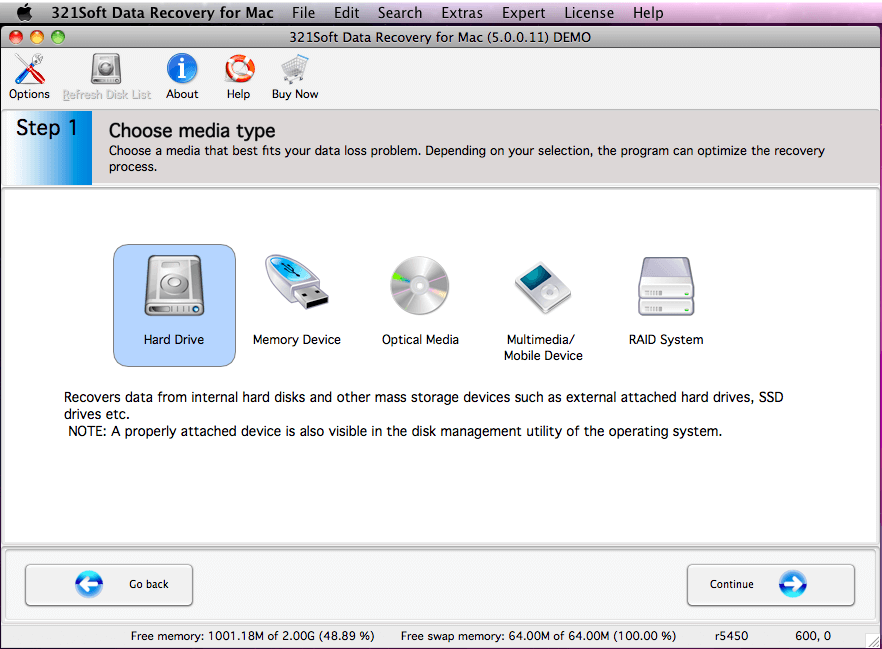
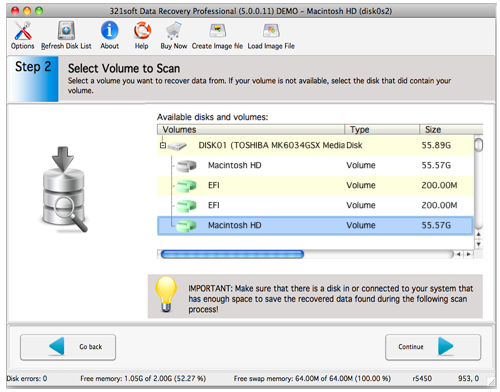
Step 2: The first step in the recovery process is choosing the Hard Drive that you are trying to recover data from.
Hard Drive: Internal hard disks and other mass storage devices such as external attached hard drives, SSD drives etc.
Step 3: If you do not have a volume showing on your system, you choose the disk where the volume used to be, and then you can scan for lost volumes.
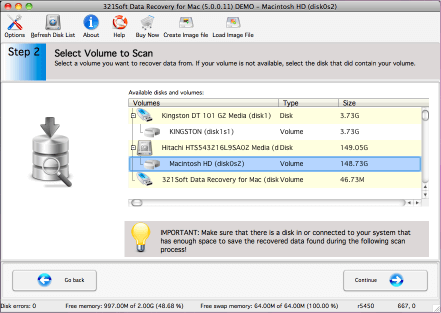
Step 4: If you chose a disk instead of a volume in Step 2, You will be given the option to search that disk for lost volumes. This would be good for recovering volumes from a drive that has damaged file systems or deleted volumes. Again, you are given the option so limit the file systems you are searching for. Because this is a search for lost volumes, there is no RAW file system scan available.

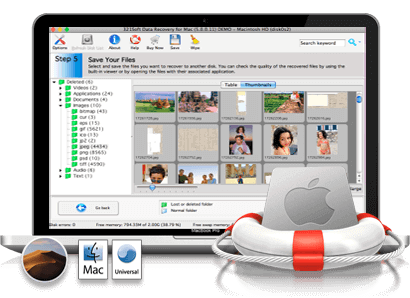
Step 5: When the scan for lost volumes is finished, All the deleted, and lost volumes will be listed. where you are asked to select the volume to scan. If the program was able to locate a lost volume, then it will be displayed with a green icon.
Choose this drive and proceed as you would on a normal volume. You will be able to browse the volume, look for deleted files, and look for lost files. Then you can save them to another location on your system.
Find out why we're ranked #1
Ready to recover unrecognized drive on Mac? Just click the button below and begin recover your files from unrecognized drive!